Espresso Puck Prep: WDT, Distribution, and Why It Matters
The 30 seconds between grinding and pulling a shot determines 90% of the flavor. Here's the sequence.
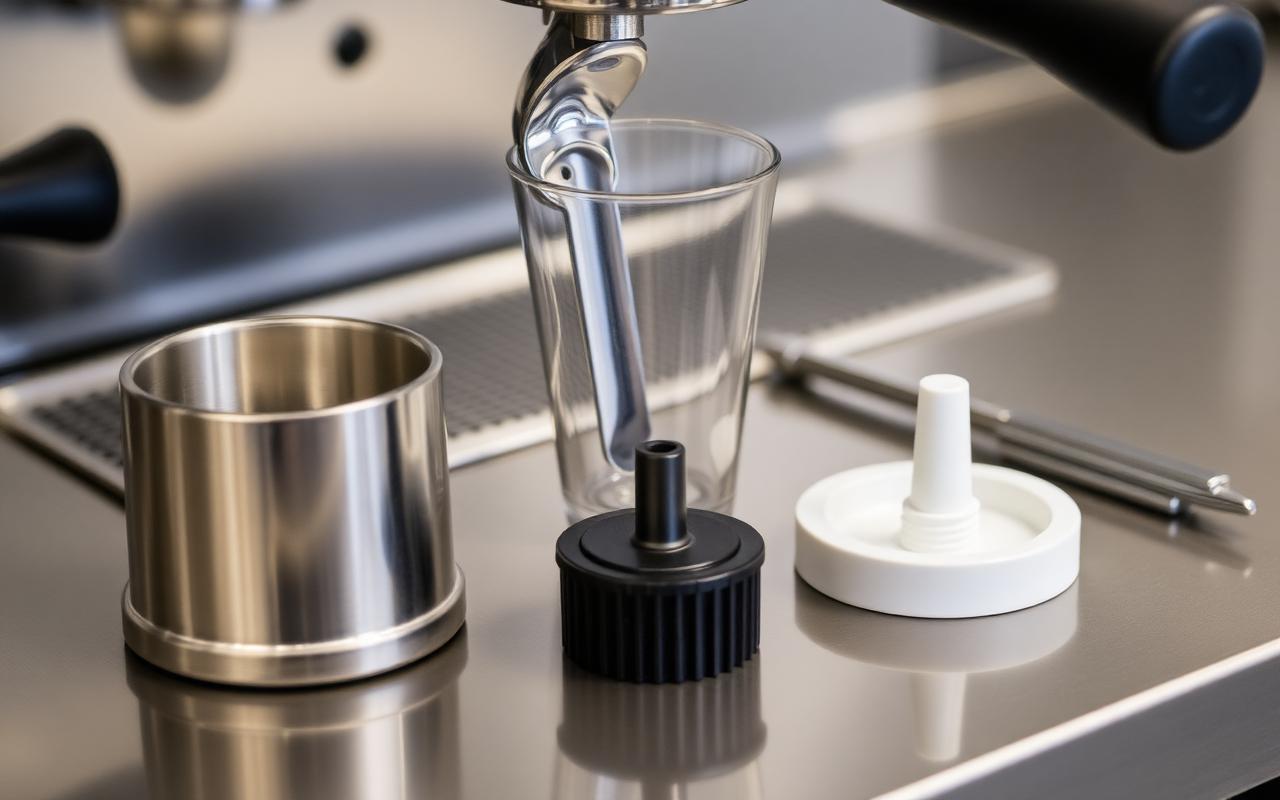
A cluster of tiny needles you stir through the ground coffee to break clumps. $10 tool that solves channeling instantly. Non-negotiable if you own an espresso machine.
The distribution tool
A leveling puck-shaped disc that rotates on top of the grounds. Optional if you tamp well, but it removes one variable from every shot.
The tamp
Level, straight down, moderate force. Wipe grounds from the portafilter rim before locking in — stray grounds prevent a proper seal and cause spraying.
Going deeper
There's the version of this you can learn in five minutes, and there's the version that makes every cup better for the next ten years. This is the second one.
Reading the shot
A good shot pours in a steady tiger-striped stream that starts dark and slowly lightens to blond. Watch for spritzing (fine grind, channel) or gushing (coarse grind, weak puck). Taste before you adjust — sour means under-extracted (finer or longer), bitter means over-extracted (coarser or shorter).
The three variables that matter
Grind size, dose, and yield. Everything else — distribution tools, tamping pressure, temperature — is polish. Nail these three and you're 90 percent of the way to a great shot. A typical starting point: 18 grams in, 36 grams out, in 27 to 32 seconds. Adjust grind finer to slow the shot down, coarser to speed it up.
Milk drinks and steaming
For lattes and cappuccinos, purge the wand, submerge the tip just below the surface, and open the steam full-blast. You want a hissing paper-tearing sound for three seconds to introduce air, then submerge deeper to create a whirlpool that polishes the microfoam. Stop at 140 to 150 degrees — any hotter and the milk tastes scalded.
Puck prep in 30 seconds
Dose into the portafilter, tap once to settle, then use a WDT tool (a set of thin needles) to break up clumps and distribute evenly. Level with a leveling tool or your finger. Tamp with even, downward pressure — the exact weight matters less than being consistent every single time. Insert the portafilter and start the shot immediately; letting it sit against a hot grouphead scorches the top layer.
Common mistakes to avoid
The fastest way to improve is to stop doing the wrong thing. In order of frequency: using stale coffee, skipping the scale, running the water too cool, and changing multiple variables at once. Fix those four and you're brewing better than 90 percent of home setups.
Final thoughts
Coffee at this level rewards attention, not spending. A modest setup used consistently beats an expensive setup used carelessly, every time. Give any technique two weeks of daily practice before deciding whether it works for you — palate takes longer to train than muscle memory.
Home barista, gear nerd, and contributing writer at Brew Coffee Better.
Related articles
How to Brew the Perfect Pour Over Coffee
A step-by-step guide to nailing a clean, sweet pour over — from bloom to final pour.
French Press vs AeroPress: Which Should You Buy?
Two icons of home brewing, two very different cups. Here's how to choose.
Best Coffee Beans for Espresso in 2026
Six roasters delivering chocolatey, syrupy shots that pull beautifully at home.