Milk Steaming Basics: The Two Sounds That Matter
Perfect microfoam sounds like a tearing paper, not a screaming baby. Here's how to get there.
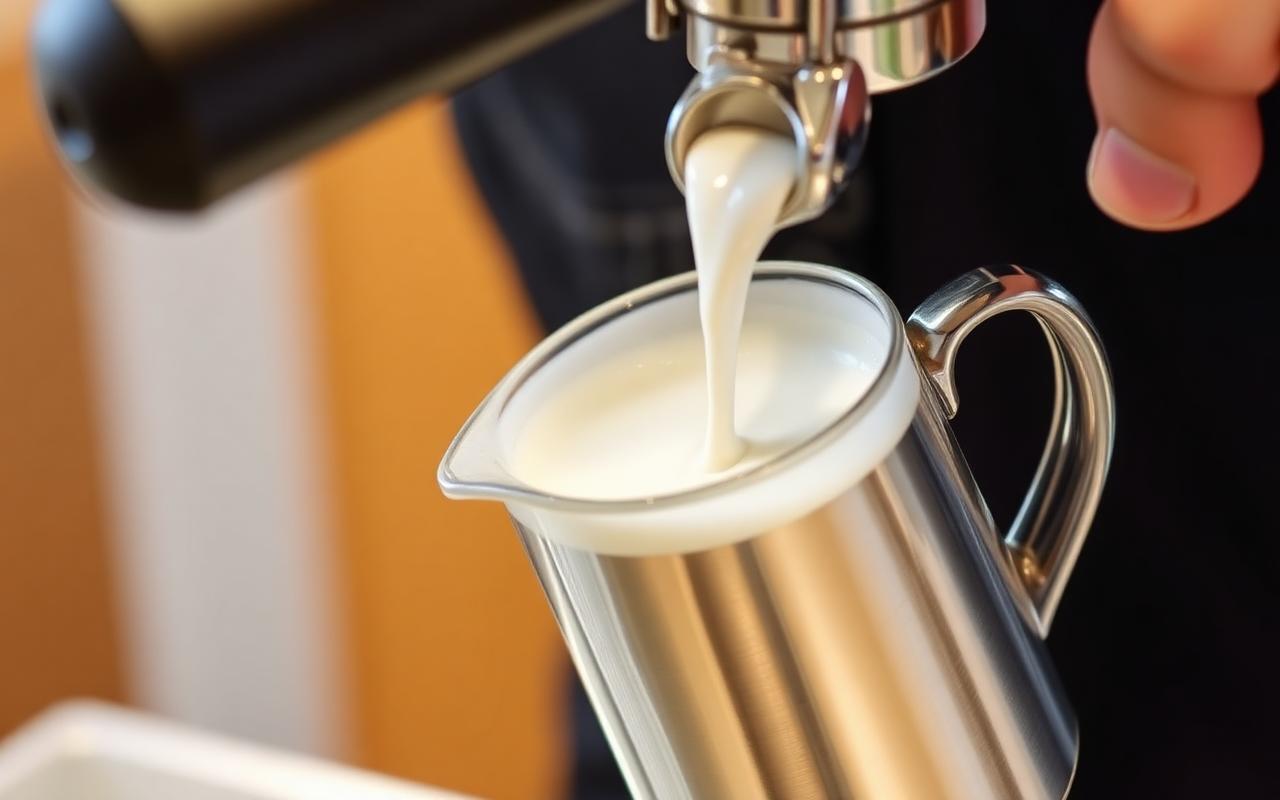
Purge the wand. Position the tip just below the milk surface. Turn on steam and listen for a light tearing sound — that's air incorporating. Do this for 3 to 5 seconds only.
The spin
Submerge the tip deeper and tilt the pitcher to create a whirlpool. The milk should spin silently, heating and integrating the microfoam into silky texture.
The temperature
Stop when the pitcher is uncomfortably warm to touch but not painful — about 140°F. Overshoot 160°F and the milk turns thin and burnt.
Going deeper
The recipe alone won't get you there. What matters is understanding which variable to move when the cup isn't tasting like it should, and this guide walks through exactly that.
Puck prep in 30 seconds
Dose into the portafilter, tap once to settle, then use a WDT tool (a set of thin needles) to break up clumps and distribute evenly. Level with a leveling tool or your finger. Tamp with even, downward pressure — the exact weight matters less than being consistent every single time. Insert the portafilter and start the shot immediately; letting it sit against a hot grouphead scorches the top layer.
Milk drinks and steaming
For lattes and cappuccinos, purge the wand, submerge the tip just below the surface, and open the steam full-blast. You want a hissing paper-tearing sound for three seconds to introduce air, then submerge deeper to create a whirlpool that polishes the microfoam. Stop at 140 to 150 degrees — any hotter and the milk tastes scalded.
The three variables that matter
Grind size, dose, and yield. Everything else — distribution tools, tamping pressure, temperature — is polish. Nail these three and you're 90 percent of the way to a great shot. A typical starting point: 18 grams in, 36 grams out, in 27 to 32 seconds. Adjust grind finer to slow the shot down, coarser to speed it up.
Reading the shot
A good shot pours in a steady tiger-striped stream that starts dark and slowly lightens to blond. Watch for spritzing (fine grind, channel) or gushing (coarse grind, weak puck). Taste before you adjust — sour means under-extracted (finer or longer), bitter means over-extracted (coarser or shorter).
Common mistakes to avoid
The fastest way to improve is to stop doing the wrong thing. In order of frequency: using stale coffee, skipping the scale, running the water too cool, and changing multiple variables at once. Fix those four and you're brewing better than 90 percent of home setups.
Final thoughts
Coffee at this level rewards attention, not spending. A modest setup used consistently beats an expensive setup used carelessly, every time. Give any technique two weeks of daily practice before deciding whether it works for you — palate takes longer to train than muscle memory.
Home barista, gear nerd, and contributing writer at Brew Coffee Better.
Related articles
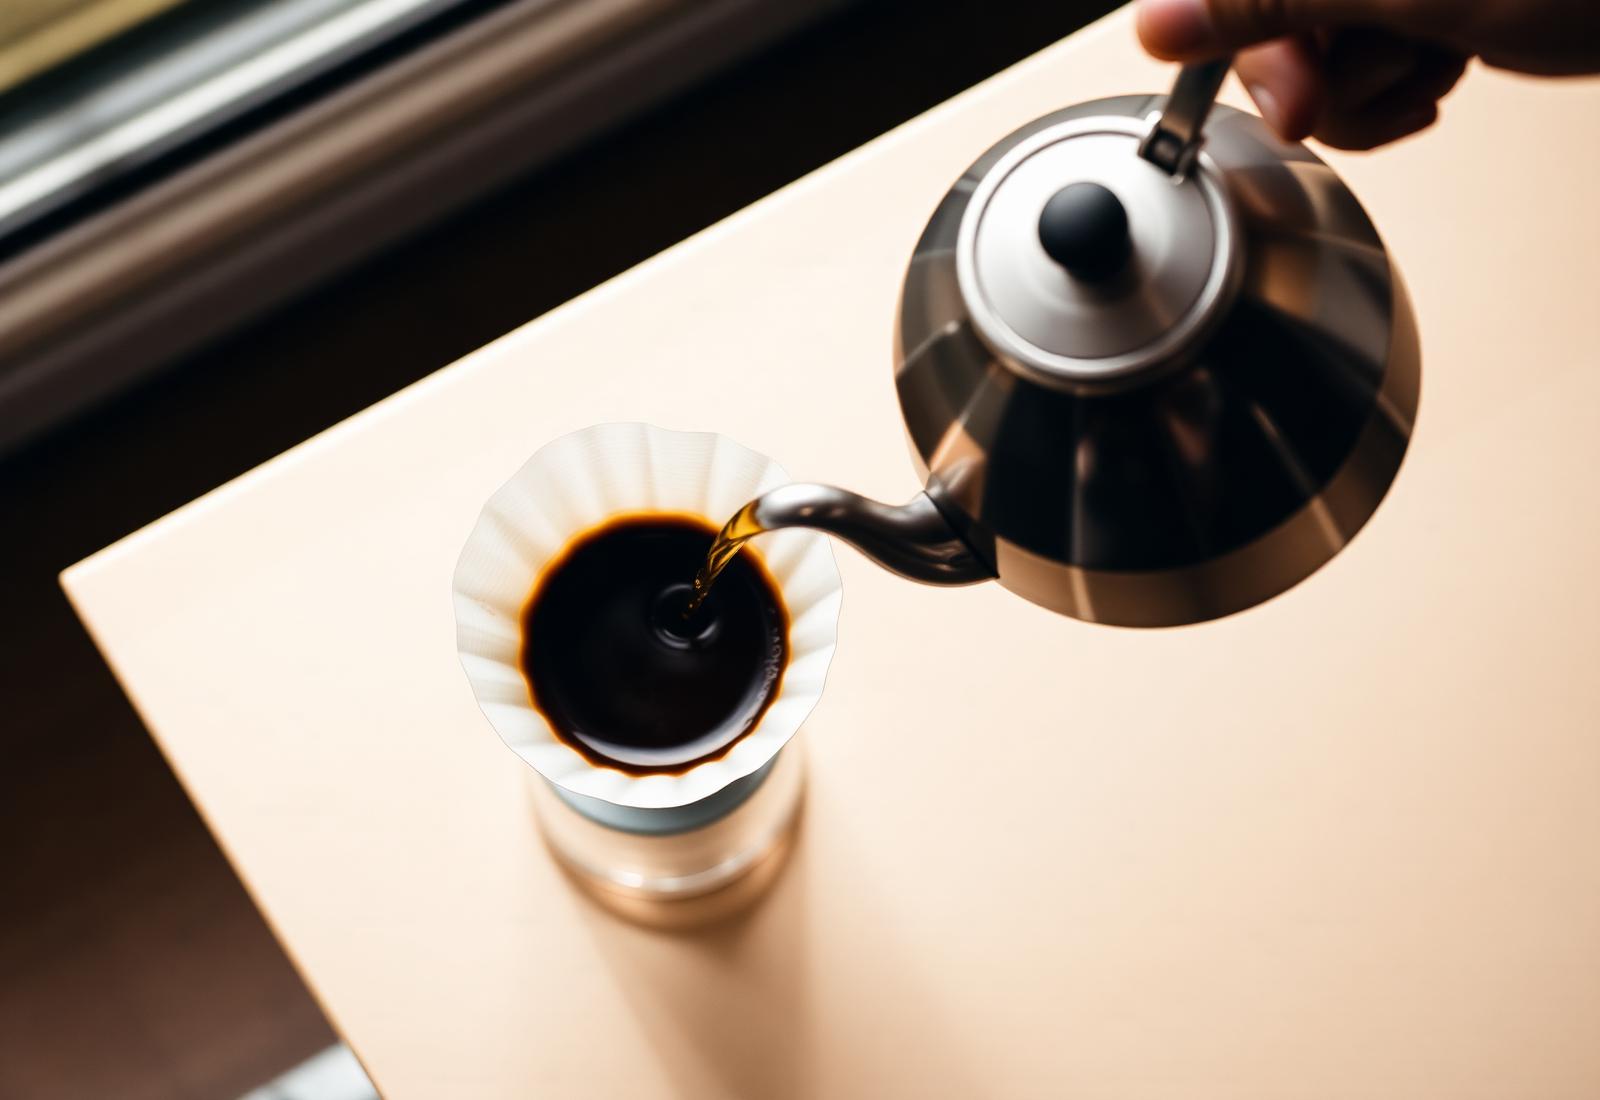
How to Brew the Perfect Pour Over Coffee
A step-by-step guide to nailing a clean, sweet pour over — from bloom to final pour.
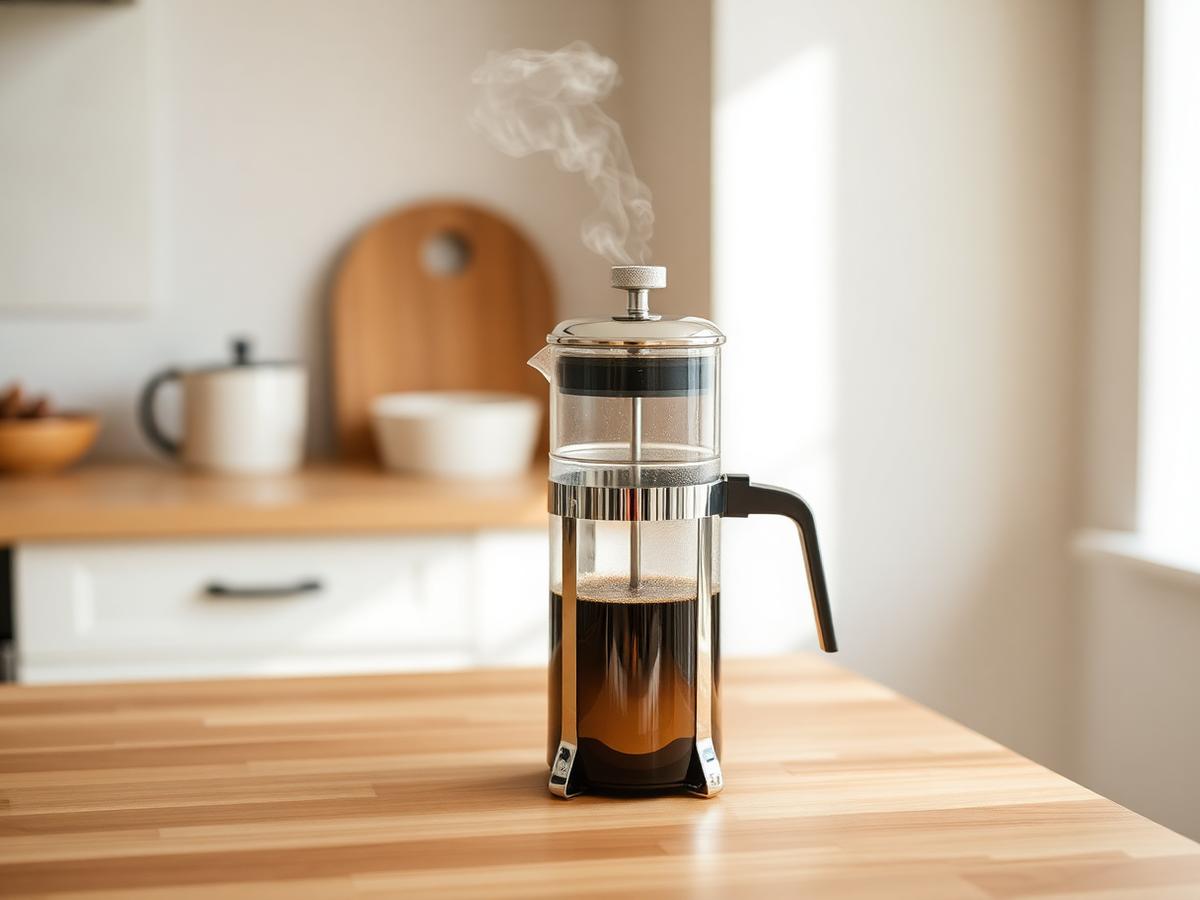
French Press vs AeroPress: Which Should You Buy?
Two icons of home brewing, two very different cups. Here's how to choose.

Best Coffee Beans for Espresso in 2026
Six roasters delivering chocolatey, syrupy shots that pull beautifully at home.