The Origami Dripper: Beautiful, Fast, and Genuinely Different
The pleated ceramic dripper isn't just Instagram bait — the ridges do real work. Here's what I found after 100 brews.
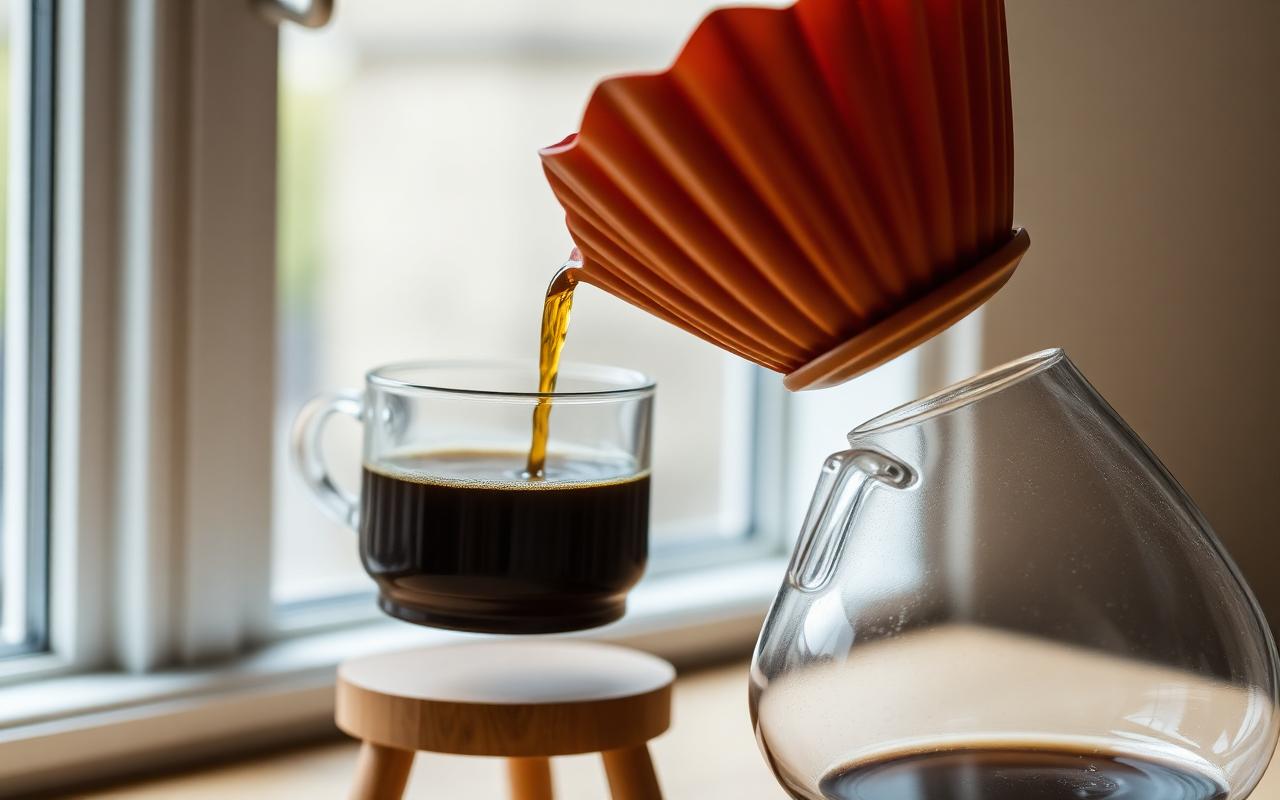
Twenty vertical ridges lift the paper filter off the walls, creating air channels that speed drawdown dramatically. You can use flat-bottom or cone filters, giving you two brewers in one.
Brewing experience
Drawdown finishes in about 2:30 with a cone filter — faster than a V60. You'll want to grind slightly finer to compensate, or the cup runs thin. Ceramic holds heat beautifully.
Is it worth $60?
If you already own a V60, no. If you want one gorgeous dripper that handles both filter shapes and looks incredible on the shelf, yes. It's my Sunday morning brewer.
Going deeper
Most guides stop at the recipe. This one goes further — into the choices behind the numbers, the small adjustments that separate a decent cup from a great one.
Dialing in grind size
Grind is the single biggest lever you have. Too coarse and the brew runs fast, tastes thin, and finishes sour. Too fine and it stalls, over-extracts, and turns bitter. Start medium-fine — roughly the texture of table salt — and adjust in small steps. If your total brew time lands under 2:45, tighten the grind two clicks. Over 3:45, open it up two clicks. Never change grind and ratio in the same session; you'll never know which variable moved the cup.
Reading the bed after brewing
The spent coffee bed tells you exactly what happened. A flat, even bed with a small dome in the center means uniform extraction. A crater or channel means water bypassed some of the grounds — usually caused by an aggressive pour or an uneven initial distribution. High walls of coffee stuck to the paper mean you didn't rinse the sides down enough. Take ten seconds to look before you rinse the dripper.
Pouring technique that actually matters
Pour in slow concentric circles from the center outward, then back. Keep the kettle spout two to three inches above the bed so the water enters gently instead of drilling a channel. Avoid pouring directly on the paper — grounds stuck to the wall don't extract. Pulse pouring (multiple small pours) gives you more control than a single continuous pour, especially on lighter roasts that need agitation to open up.
Water quality and temperature
Coffee is 98 percent water, so bad water guarantees a bad cup. Aim for 150 ppm total dissolved solids with a balanced calcium-to-magnesium ratio. Third Wave Water and Lotus Water Drops both make this trivial. Brew temperature belongs between 195 and 205 degrees Fahrenheit — hotter for dense light roasts, cooler for darker ones. A thermometer or a temperature-controlled kettle removes the guesswork entirely.
Common mistakes to avoid
The fastest way to improve is to stop doing the wrong thing. In order of frequency: using stale coffee, skipping the scale, running the water too cool, and changing multiple variables at once. Fix those four and you're brewing better than 90 percent of home setups.
Final thoughts
Coffee at this level rewards attention, not spending. A modest setup used consistently beats an expensive setup used carelessly, every time. Give any technique two weeks of daily practice before deciding whether it works for you — palate takes longer to train than muscle memory.
Home barista, gear nerd, and contributing writer at Brew Coffee Better.
Related articles
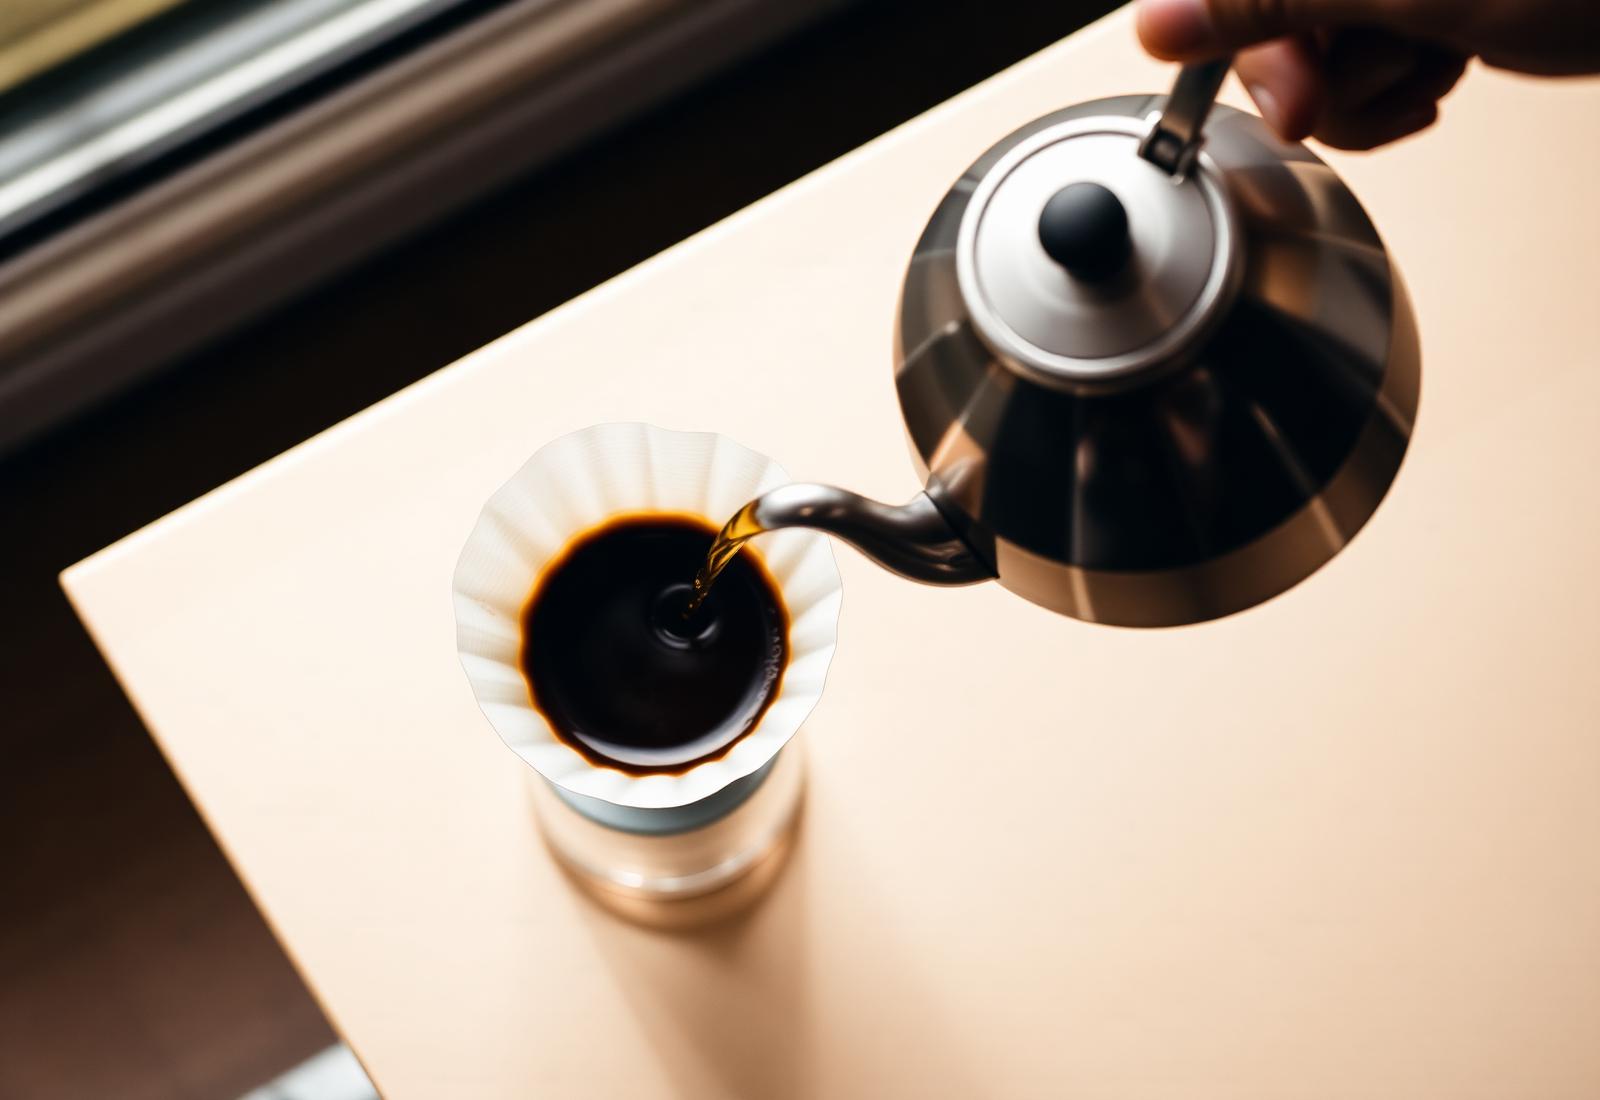
How to Brew the Perfect Pour Over Coffee
A step-by-step guide to nailing a clean, sweet pour over — from bloom to final pour.
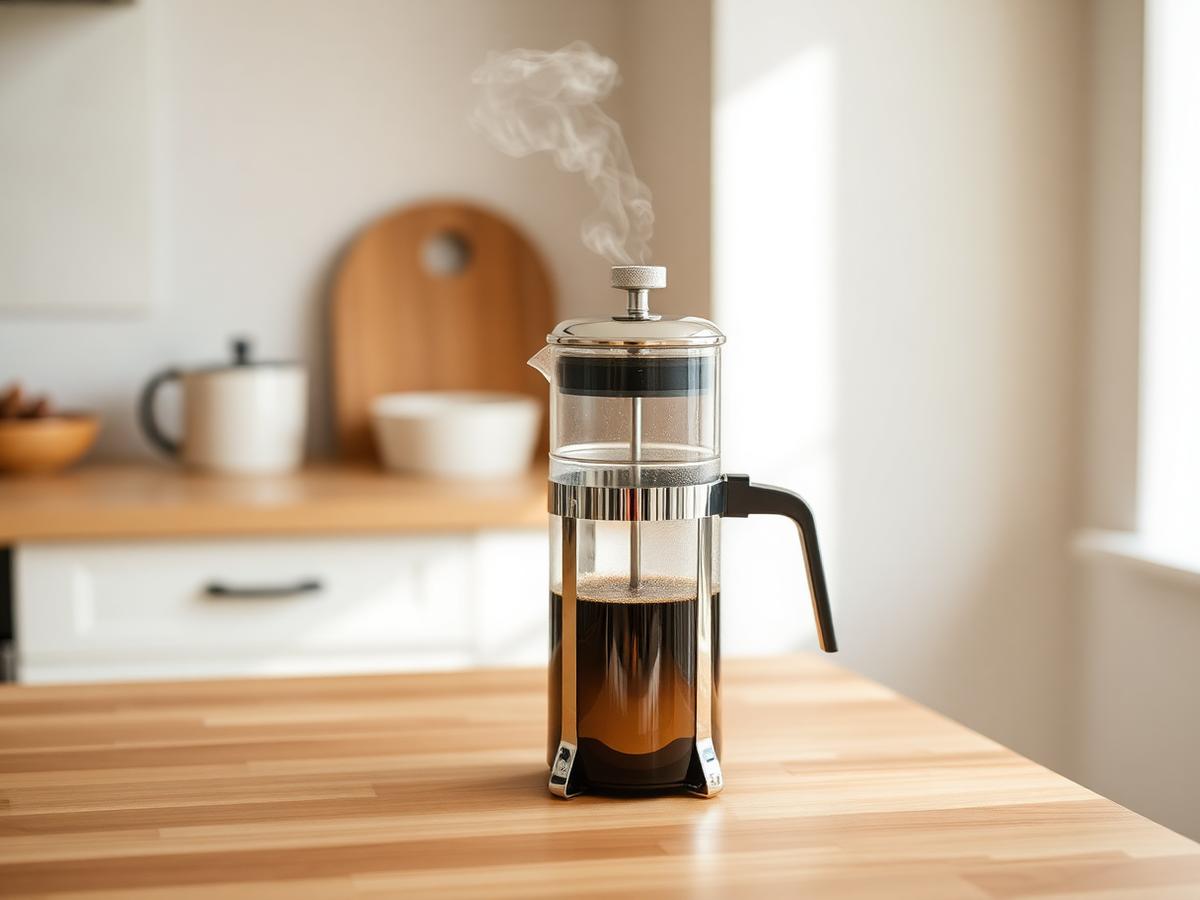
French Press vs AeroPress: Which Should You Buy?
Two icons of home brewing, two very different cups. Here's how to choose.
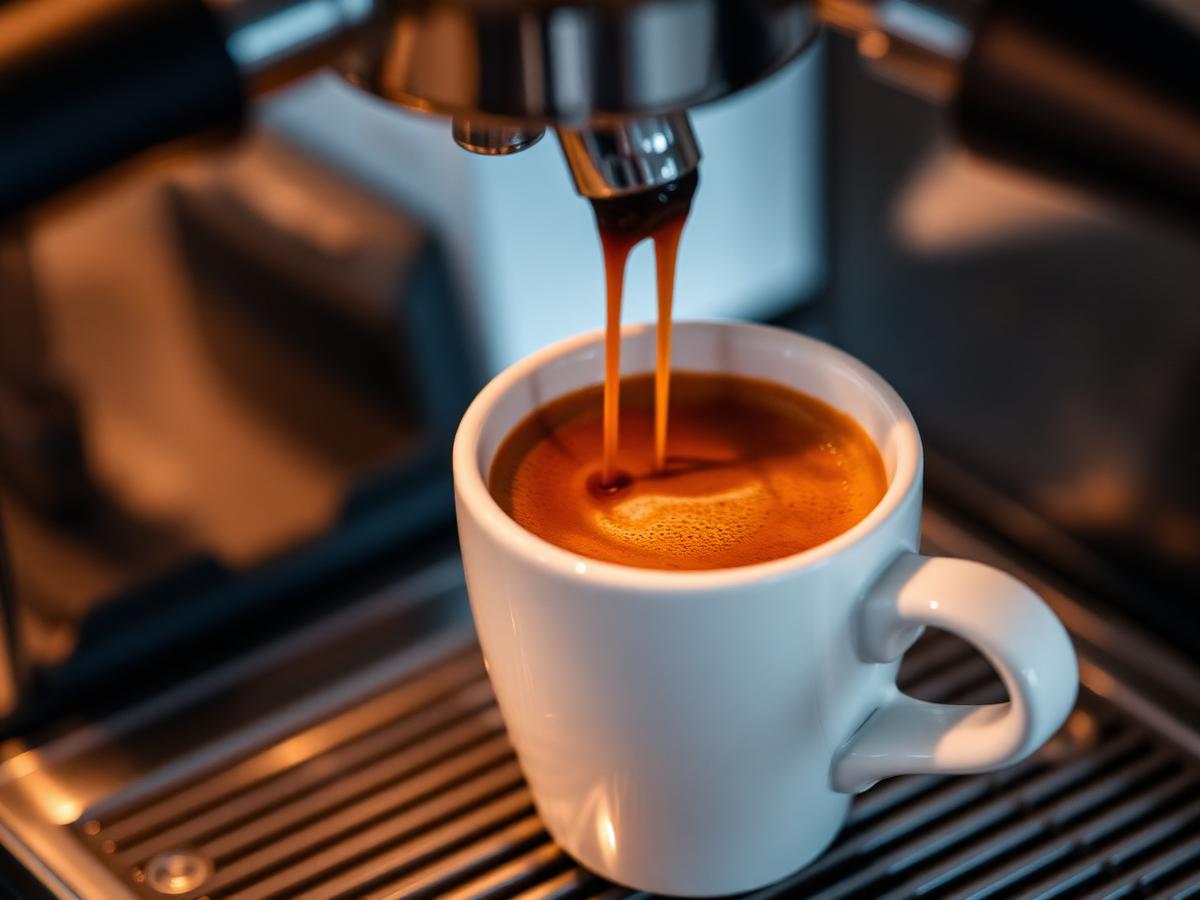
Best Coffee Beans for Espresso in 2026
Six roasters delivering chocolatey, syrupy shots that pull beautifully at home.